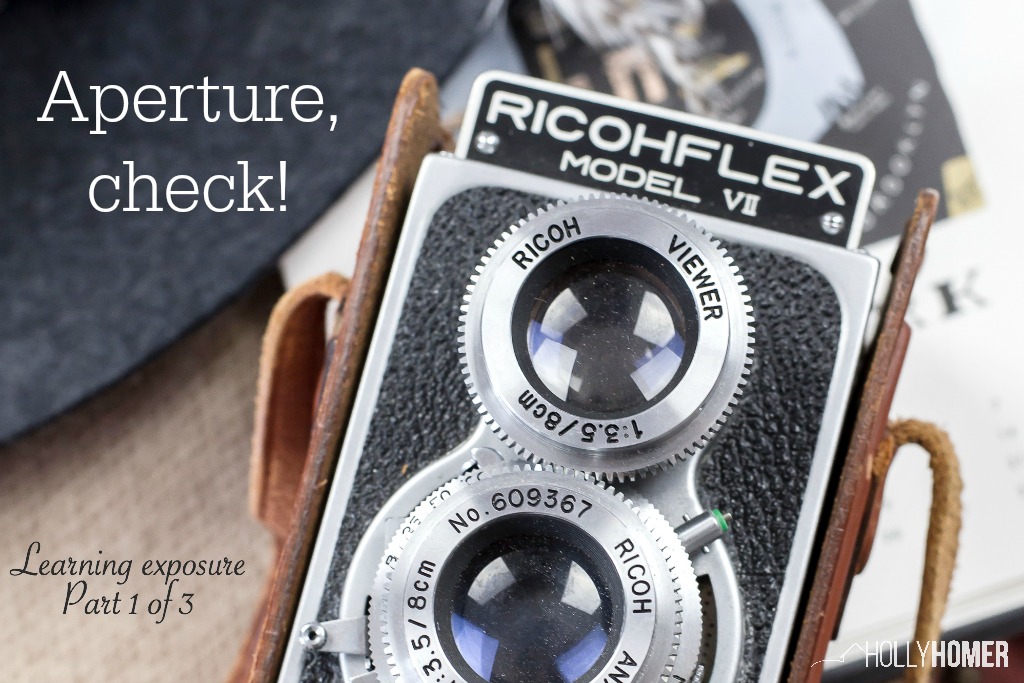
The first step in getting your DSLR camera off the manual mode is to understand Digital Camera Aperture. Photography is a huge component of a successful blog or website. But most of us don’t come to blogging with a deep set of photography skills.
We talked about starting slow to prevent frustration in the article Are Your Photography Skills Holding Back Your Blog? But as you grow as a blogger, you will need to get comfortable with a camera.
This photography series will help you understand exposure when shooting in manual mode with your DSLR, so you can create beautiful images for your blog. We are going to learn one thing at a time, beginning with Digital Camera Aperture.
Eek! Yes, I said it, the dreaded manual mode!
Trust me, it’s not as complicated as you think once you understand how the camera works, but it does take some practice. So grab a coffee, your camera, and put it in manual mode; let’s get started!

The Basics of Digital Camera Aperture
I’m going to assume you know how to use the buttons on your camera to adjust the aperture, shutter speed, and ISO. This can be found online or in your owner’s manual.
I shoot with a Canon 6D and for me I use the *, the toggle wheel, and the ISO button.
Now, to get everyone on the same page, I want you to think of your camera as your eyeball. Your pupil widens and narrows to control how much light is allowed in based on the lighting around you, right? Well, your camera works the exact same way, but it doesn’t do it automatically; you are in control of the ‘pupil’ now.
There are 3 main components that effect the way light enters your camera. Aperture, shutter speed, and ISO. I personally found it uber helpful to understand not only what these things are and how they work, but how they all work together to create a properly exposed image. Wait, come back to me, don’t freak out yet; I’m going to cover these one at a time.
We are going to start with the one that confused me the most, aperture.
Understanding Aperture on your DSLR
Actual definition: Aperture is the variable opening by which light enters a camera or photographic instrument (blah, blah, confusing blah).
My words: The opening in the lens where light comes in (ah yes, much better). When you stare into your camera lens, you can actually see the hole.
What this actually means: The aperture, which is also known as the “f-stop” in photography slang, is the opening in the lens that controls how much light enters into the camera. The smaller the number (f/2 for example), the bigger the hole in the lens is, so more light can enter the camera; the bigger the number (f/18 for example), the smaller the hole in the lens is, so less light can enter the camera.
I know that seems backwards doesn’t it? Smaller is bigger and bigger is smaller! What?! But lets think about this for a minute. Think back to our eyeball comparison for a second, specifically our pupils. When it’s dark, our pupils are big to allow a lot of light in so we can see clearly (small number aperture, f/2). When it is bright outside, our pupils are small to allow less light in (big number aperture, f/18).
Small aperture = big hole and lots of light.
Large aperture = small hole and not much light.
SMALL = BIG and LARGE = SMALL, got it? Good!

How to Use Aperture for Proper Exposure
What are you to do with this information? Practice!
Here’s what we are going to do, set your shutter speed to 1/125 and your ISO to 500, so that you are starting from the same point for each practice session.
Now, at several different times during the day, pick up your camera (in manual mode with these settings) and try setting the aperture for different lighting situations. Only adjust the aperture today! In the morning when it’s bright, play around with using large f-stops (f/10 to f/22) and in the evening when it’s dark, try using smaller f-stops (f/1.8 to f/8). Shoot whatever you see!
Don’t worry if your photos aren’t perfect, this is not about that; it’s about learning how only adjusting the aperture can control the light.
Remember there are 3 components to a balanced exposure and the aperture is only one part of it.
You might also notice while you’re playing around, that the aperture or f-stop also controls the depth of field (amount of background blur) in your photos. We will talk more about this in the future, so don’t worry much about it now, but it’s fun to pay attention to it and see what you like.
That’s all for now. Aperture, got it? Check! Make sure to practice with f-stops at least 4 times this week or…everyday if you’re an overachiever like me.


 How Do Bloggers Bridge the Gap Between Storytelling and Sales?